

Best Solar Labeling Practices for Safe PV Systems
- Alfred Craig

- Aug 11
- 6 min read
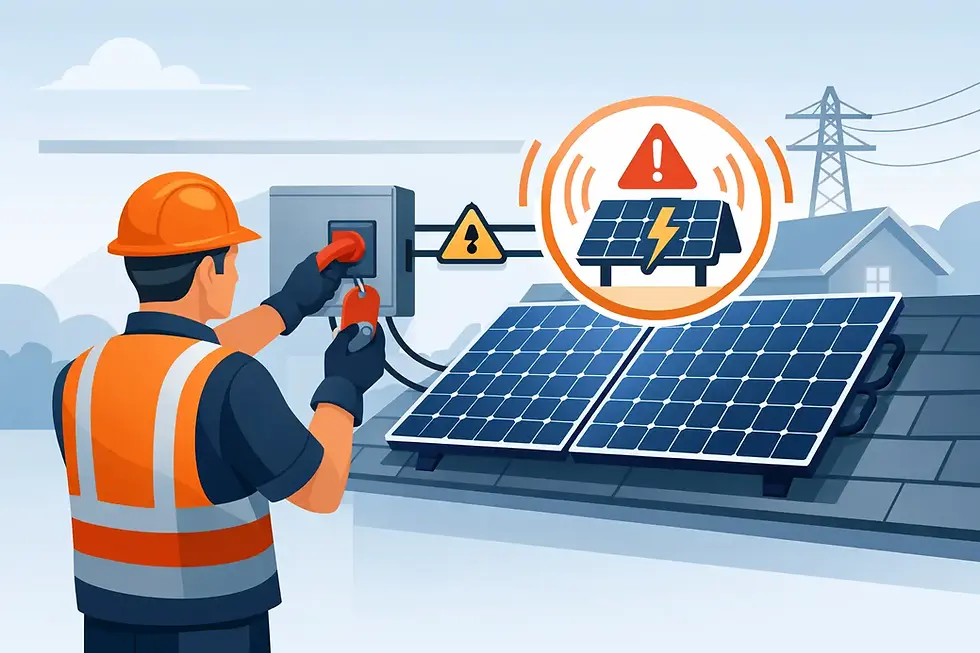
A solar array can appear isolated when the utility disconnect is open, yet conductors between the modules and the inverter may remain energized whenever light is present. That is why best solar labeling practices are not a finishing detail after installation. They are a primary hazard-communication control for electricians, maintenance personnel, inspectors, and emergency responders.
Solar labeling must help a qualified person understand where power originates, how it travels, what equipment can remain energized, and where to disconnect or isolate it. A label program that only satisfies a checklist can still fail in the field if labels are vague, placed where no one looks, or unable to withstand heat, moisture, UV exposure, cleaning chemicals, and abrasion.
Best Solar Labeling Practices Start With a Site Survey
Do not order labels from a one-line diagram alone. Walk the installation and compare the drawings with the actual equipment, conductor routes, disconnecting means, battery systems, service equipment, and points of interconnection. Field changes are common in photovoltaic work. A label that reflects the design but not the installed system can create a false sense of security.
Document every location where a worker or responder needs to make a safety decision. This generally includes the service equipment, PV system disconnects, inverters, combiner boxes, rapid shutdown equipment, battery energy storage equipment, transformers, meters, and any alternate power source connection. Also identify equipment that is remote from the array or located in another building, since the physical separation can make the system harder to interpret during an emergency.
The applicable NEC edition and local authority having jurisdiction determine specific marking requirements. NEC Article 690 addresses photovoltaic systems, while Article 705 addresses interconnected electric power production sources. Requirements for rapid shutdown, source identification, and warning markings can differ by code cycle and system configuration. Confirm the adopted code with the AHJ before finalizing label text, colors, dimensions, and placement.
Label the Power Sources, Not Just the Equipment
The central safety problem with solar is multiple sources. A facility may have utility power, PV generation, standby generation, battery storage, and more than one service or feeder arrangement. Each source must be communicated at the point where someone might assume equipment is de-energized.
At service equipment and the point of interconnection, provide durable identification that clearly indicates the presence of photovoltaic power. The marking should direct personnel to the location of the PV disconnecting means when it is not immediately visible. If batteries or generators are also connected, their presence must be identified separately. Combining several sources into a generic "alternate power" message may be insufficient for operational use.
At PV disconnects, combiner boxes, and inverter equipment, labels should identify the source and the voltage hazard present. The information must be accurate for the installed system. Avoid copying a standard label onto equipment without verifying voltage, available current, and whether the conductors are DC, AC, or both. A technician making a troubleshooting decision needs clear, equipment-specific information, not a broad warning that applies to every site.
For facilities with large arrays, consider how labels work as a route map. Equipment identification should match single-line diagrams, maintenance procedures, lockout/tagout documents, and asset names used in the CMMS. If the inverter is called INV-03 on the drawing but labeled Solar Inverter C in the field, troubleshooting and emergency communication become slower and less reliable.
Make Rapid Shutdown Identification Unmistakable
Rapid shutdown markings are among the most consequential solar labels because first responders and workers may rely on them when time is limited. NEC rapid shutdown requirements have evolved, so the correct label content depends on the adopted code edition and the system's controlled conductors and boundary.
The required marking is generally placed at service equipment or another approved location and is intended to explain the rapid shutdown function and the areas that remain energized after shutdown is initiated. The label must not imply that the entire PV system is de-energized if conductors on the array side of the boundary can remain energized in sunlight.
Placement matters as much as wording. A rapid shutdown label hidden behind a service door, mounted on a nearby wall, or covered by later-installed equipment does little to support emergency action. Install it where it is visible at the relevant disconnecting means and keep it legible from a normal working position. When equipment layouts are complex, supplementary directional labels may be justified to guide responders to the initiating device.
Use Labels That Survive the Environment
Paper labels, office laminates, and low-grade adhesive products often fail long before the electrical equipment does. Rooftop and outdoor solar installations introduce UV radiation, high surface temperatures, wind-driven moisture, thermal cycling, dust, and corrosive atmospheres. Indoor industrial sites add washdown, oils, solvents, and frequent cabinet cleaning.
Select label materials based on the exposure, substrate, and expected service life. A durable label should resist fading, peeling, cracking, and smearing under actual site conditions. Adhesive performance is especially important on powder-coated enclosures, textured surfaces, galvanized metal, and equipment exposed to repeated temperature changes.
Before application, clean and dry the mounting surface according to the label manufacturer's instructions. Do not apply labels over rust, loose paint, oily residue, damaged surfaces, or existing labels that obscure required information. If the enclosure condition prevents reliable adhesion, correct the surface issue or use an approved mounting method rather than hoping the label remains in place.
Color and contrast should support immediate recognition. NEC-required solar markings often use specific color conventions, but visibility still depends on legible type, adequate label size, and contrast against the equipment finish. A label may technically contain the correct message while remaining unreadable at arm's length in poor lighting. That is not an effective safety control.
Coordinate Solar Labels With Arc Flash and Shock Hazards
PV labeling does not replace an electrical safety program. Inverters, AC disconnects, switchboards, battery systems, and associated distribution equipment may require arc flash and shock hazard labels based on an engineering study or the applicable calculation method. These labels communicate different hazards and should be coordinated rather than treated as competing messages.
A properly developed equipment label can identify nominal voltage, arc flash boundary, incident energy or PPE category where applicable, limited and restricted approach boundaries, and equipment-specific warnings. For solar equipment, confirm that the study model reflects operating modes that affect available fault current and clearing time. Utility contribution, inverter characteristics, battery contribution, and protective-device settings can materially affect the result.
Keep information current after expansions, inverter replacements, protective-device changes, battery additions, or reconfiguration of the point of interconnection. A solar project is often modified in phases. Each phase should trigger a review of labels, drawings, operating procedures, and arc flash study assumptions.
Control the Labeling Process
The strongest label program has ownership. Assign responsibility for approving label content, verifying installation, recording revisions, and replacing damaged labels. For a facility team, this may involve engineering, EHS, maintenance, and the electrical contractor. Leaving responsibility undefined commonly produces inconsistent equipment names and missed locations.
Use a label schedule that identifies the equipment tag, label type, exact wording, location, material, and responsible reviewer. Photographs taken after installation provide useful evidence for turnover packages, inspections, and future maintenance. They also make it easier to identify what changed when a label is replaced years later.
Before commissioning, verify labels in the same way personnel will use them. Stand at the service entrance and determine whether the solar source is clearly identified. Open the relevant equipment doors where permitted and confirm that disconnects, source conductors, nominal voltages, and shutdown instructions are understandable. Ask a qualified electrician who was not involved in the installation to locate every isolation point using the labels and drawings. Confusion during that exercise is a corrective-action item, not a minor formatting issue.
Common Labeling Failures to Avoid
The most frequent failures are avoidable: generic labels applied without system-specific data, missing labels after equipment replacement, faded rooftop markings, conflicting equipment names, and shutdown instructions that overstate what is de-energized. Another serious failure is treating the utility disconnect as proof that all solar conductors are dead.
Do not place labels where they will be blocked by conduit, doors, parked equipment, or later modifications. Do not cover manufacturer markings, safety instructions, nameplates, or access to disconnect handles. When space is limited, use a planned hierarchy of labels instead of layering messages until none can be read.
A solar label is effective when it gives the person at the equipment a reliable next action: identify the source, recognize the hazard, locate the isolation method, and understand any remaining energized parts. That level of clarity protects people when normal operating assumptions no longer apply.


Comments